Quick Guide to U-Boot Modes & Customisation
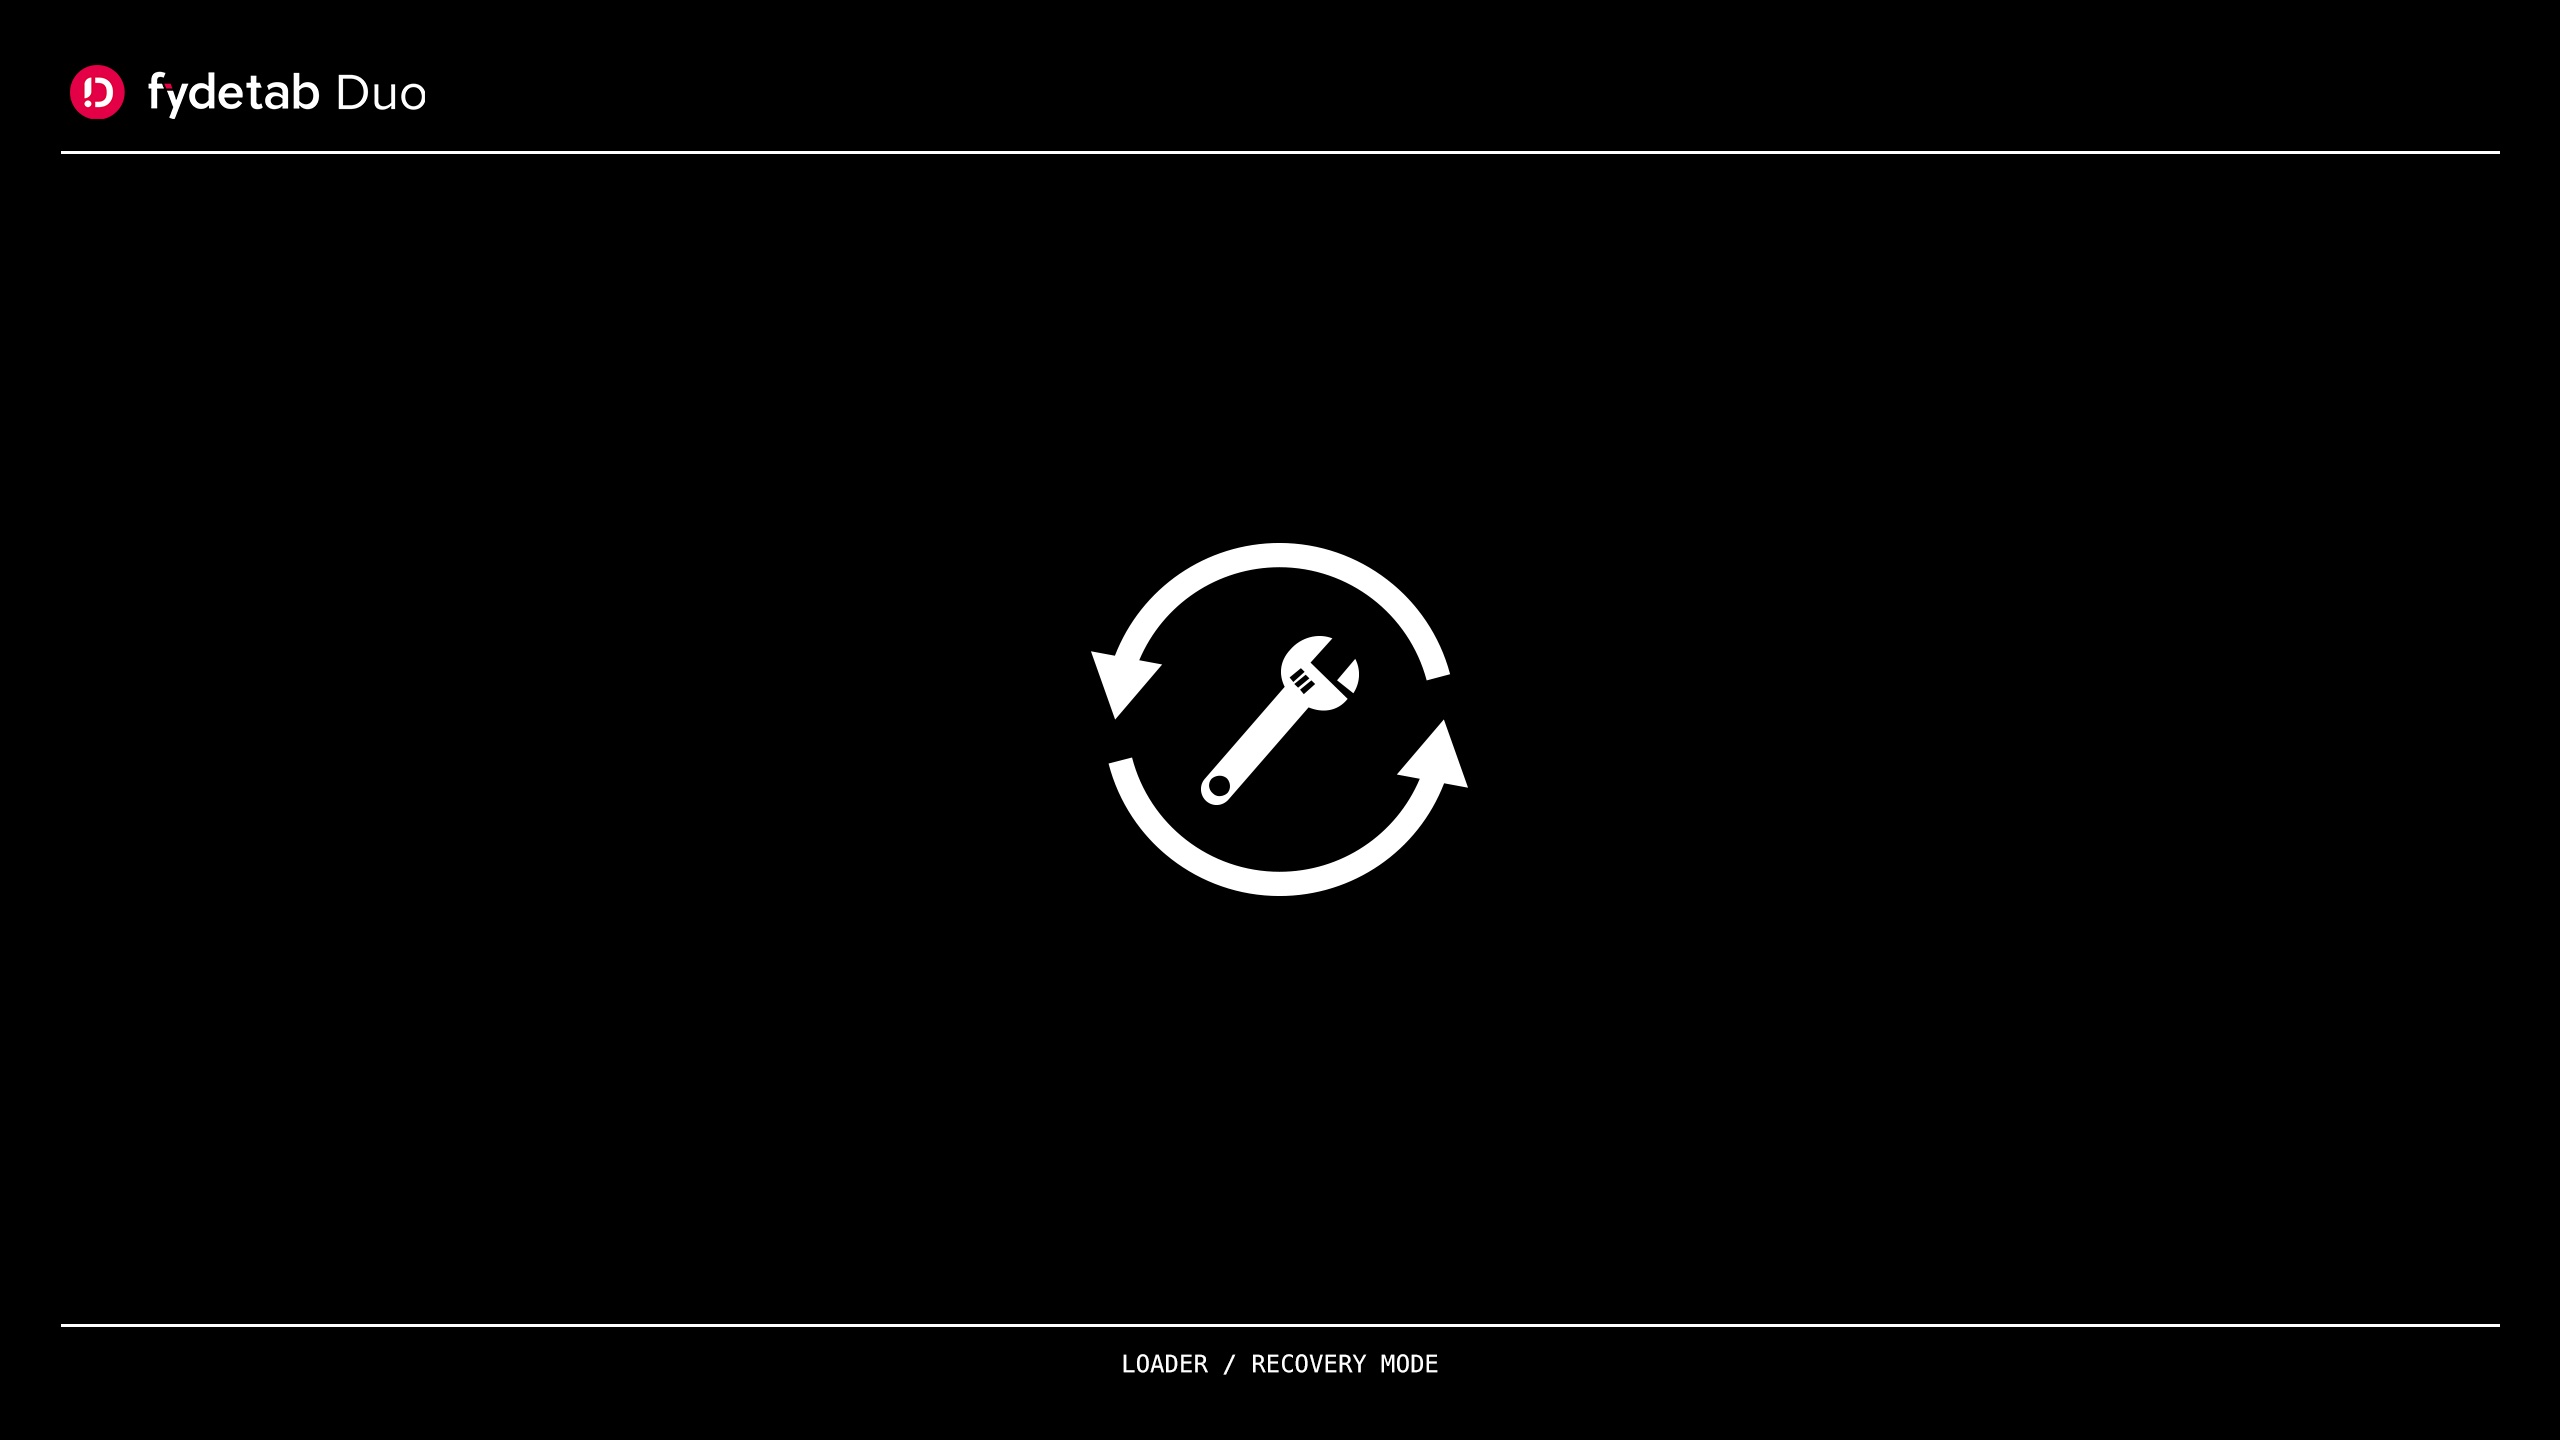
Entering Loader / Recovery Mode

To access the Loader Mode on your Fydetab Duo, follow these steps:
-
Shut down the Device
- Ensure your Fydetab Duo is completely powered off.
-
Connect USB Cable
- Insert a USB cable into the Fydetab Duo and the host device.
-
Activate Loader Mode
- Press and hold both the Volume Up button and the Power button simultaneously.
-
Confirm Loader Mode
- The Fydetab Duo will boot into Loader Mode, allowing firmware updates and other maintenance tasks.
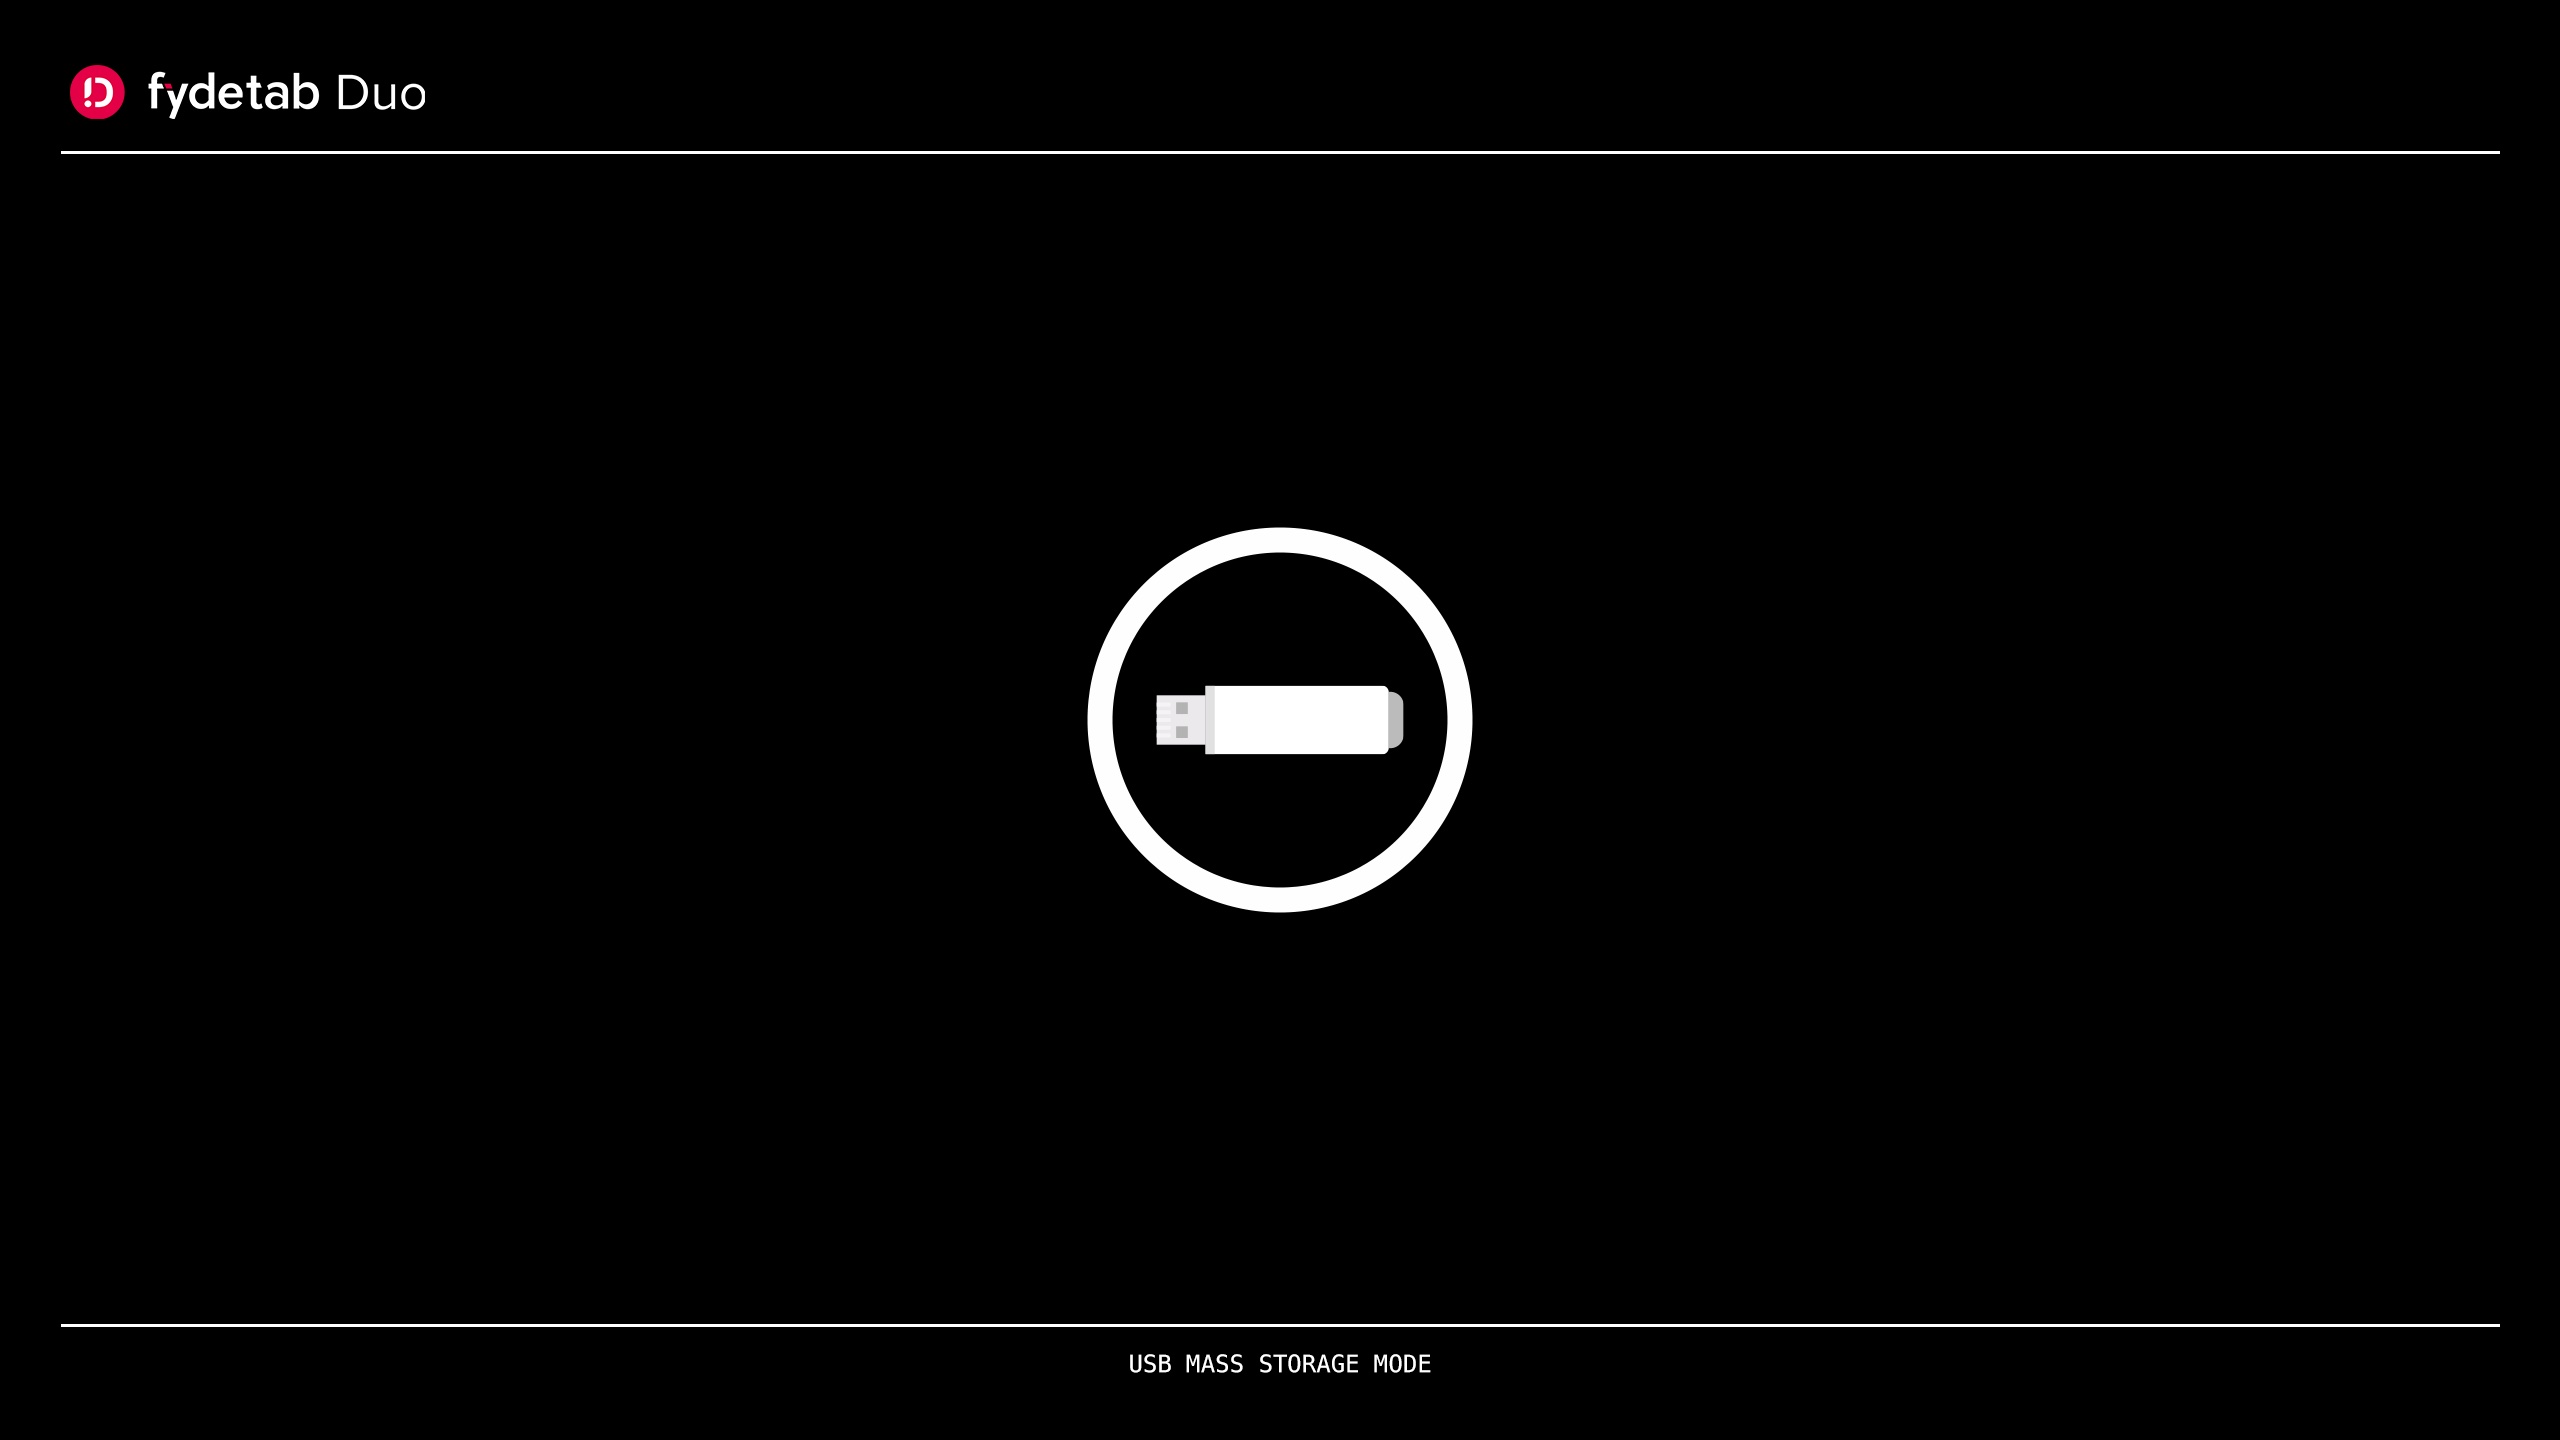
Entering USB Mass Storage(UMS) Mode

To put your Fydetab Duo into UMS Mode, proceed with the following:
-
Shut down the Device
- Ensure the Fydetab Duo is turned off.
-
Prepare for UMS Mode
- Press and hold the Volume Down button and the Power button simultaneously.
-
Connect USB Cable
- Plug in a USB cable to the Fydetab Duo and the host device.
-
Confirm UMS Mode
- The device will enter UMS Mode, acting as a USB disk that can be accessed by the host computer.
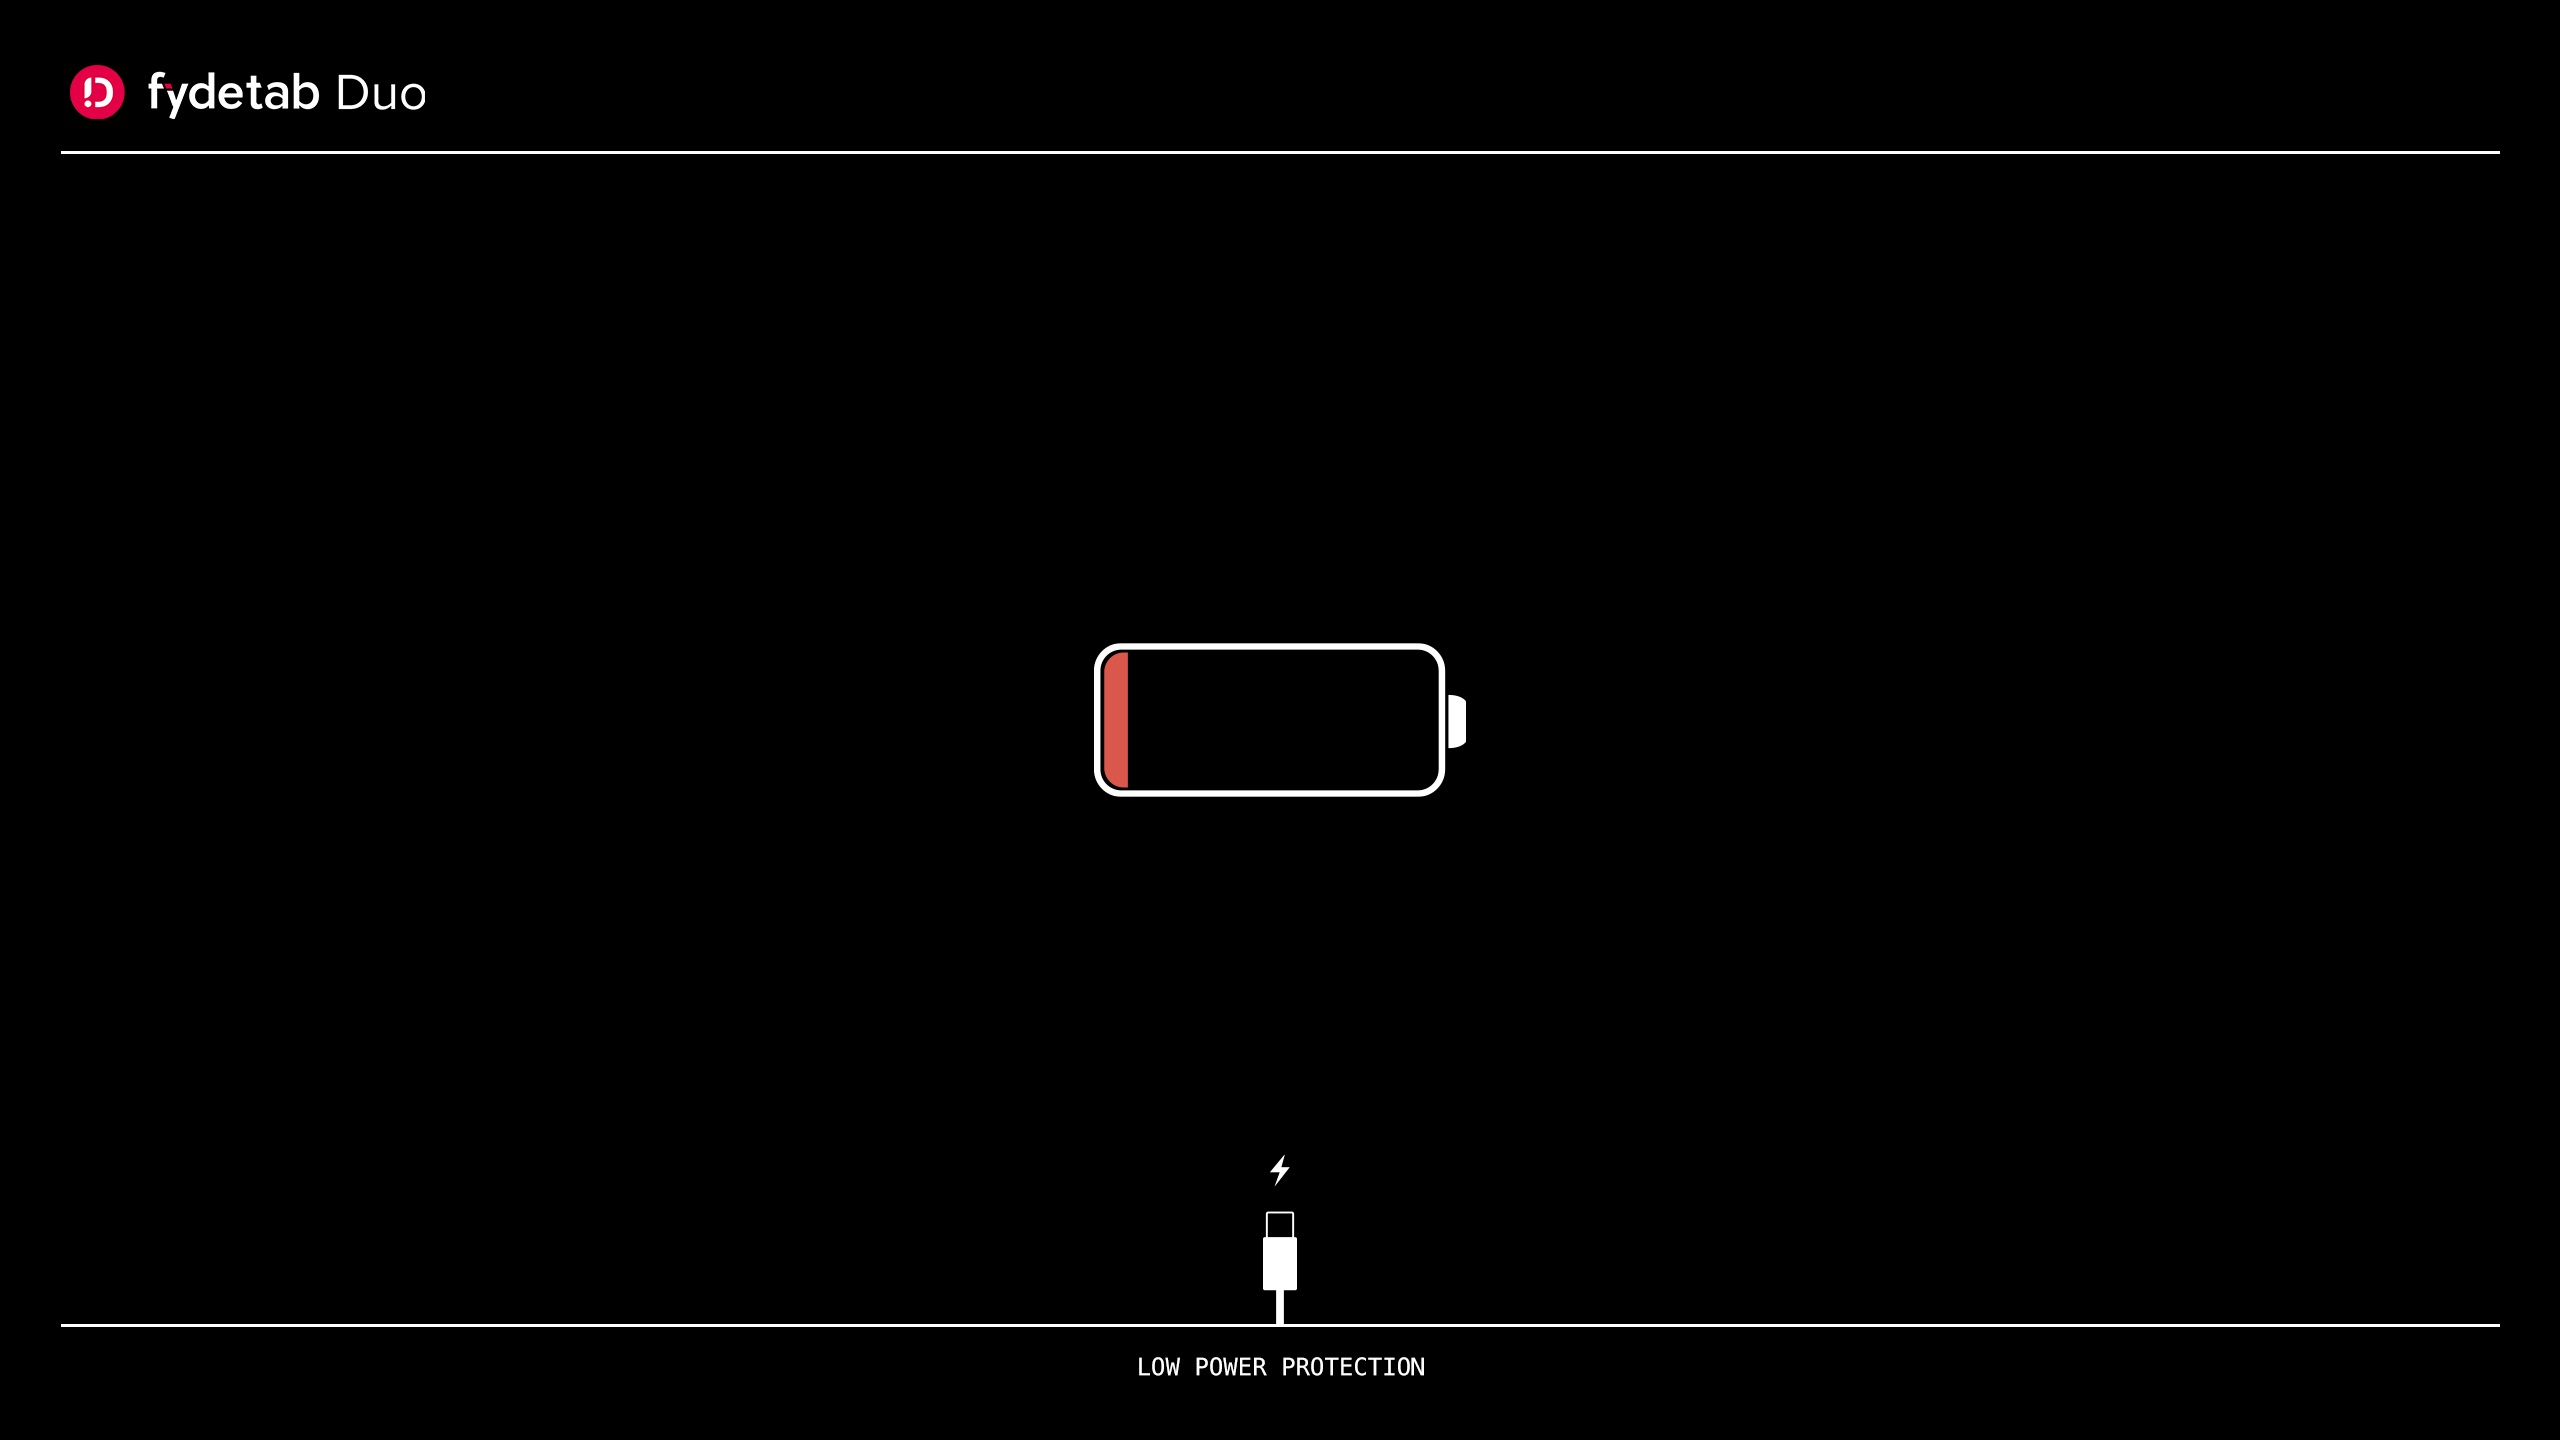
Low Power Charge Mode
Understanding the low power charging behaviour in U-Boot:
-
Critical Battery Level
<3%- If the battery capacity falls below 3% and the device is not connected to a charger, U-Boot will automatically shut down the system to protect the battery and your data.
-
Low Battery Level
<8%
- If the battery capacity is below 8%, U-Boot will remain on the charging screen until the battery charges to at least 8%, preventing the device from booting until it reaches a safer charge level.
Compiling and Replacing U-Boot
Follow these instructions to compile U-Boot and replace the original firmware on your Fydetab Duo:
-
Update Overlay
- Ensure you have the latest version of overlay-fydetab_duo-openfyde.
-
Compile U-Boot
- Enter the
cros_sdkenvironment. - Execute the following command:
emerge-${your_board} virtual/u-boot
- Enter the
-
Locate Compiled Files
- If the compilation is successful, uboot.img and resource.img will be created in
/build/${your_board}/boot.
- If the compilation is successful, uboot.img and resource.img will be created in
-
Transfer Files to Device
- Copy the uboot.img and resource.img files to your Fydetab Duo.
-
Flash Images to eMMC
- Use the following commands to flash the images:
dd if=uboot.img of=/dev/mmcblk0p11 conv=fsync
dd if=resource.img of=/dev/mmcblk0p10 conv=fsync
- Use the following commands to flash the images:
Customising U-Boot Display Images
To personalise the splash images (they are exported as bitmap images in the file system) used in U-Boot, follow these steps:
-
Replace BMP Files
- In the overlay-fydetab_duo-openfyde/sys-boot/rk-uboot-resource/files/ directory, replace the existing BMP files with your own (ensure the filenames remain unchanged).
-
Rebuild U-Boot Resource
- Enter the
cros_sdkenvironment. - Run the following command:
emerge-${your_board} rk-uboot-resource
- Enter the
-
Transfer New Resource Image
- Copy the newly created resource.img from
/build/${your_board}/bootto your Fydetab Duo.
- Copy the newly created resource.img from
-
Flash New Resource Image
- Use the following command to replace the original resource image on partition 10:
dd if=resource.img of=/dev/mmcblk0p10 conv=fsync
- Use the following command to replace the original resource image on partition 10:
The following is our design file for the BMP images. Please note that there is a 90-degree rotation in the design file to fit the screen.