⚡️ Flashing the Fydetab Duo
Here is a step-by-step guide for flashing a new OS onto your Fydetab Duo.
Getting Started
Before you begin, make sure your device is ready and that you have all the necessary tools at hand. We will guide you through the process of entering Loader Mode, checking the device status, and flashing the new OS image.
Step 1: Prepare Your Device
-
Ensure the device is powered off
Before connecting your Fydetab Duo to your computer, make sure it has been shut down completely. -
Connect your Fydetab Duo to your computer
Use a USB Type-C cable to connect the device to the computer you'll use for the OS flash.noteDue to an oversight by our factory supplier, the Type-C cable that comes with the Fydetab Duo doesn’t support data transfer. Please use a different Type-C cable that can handle data transfers.
Step 2: Enter Loader/Maskrom Mode
Follow these steps to enter Loader Mode, or Maskrom Mode if necessary:
-
Hold the Volume Up button (vol+)
Press and hold the vol+ button on your device. -
Press the Power button briefly
While holding the vol+ button, press the power button for 0.5 to 1 second. -
Release both buttons simultaneously
This should put the device into Loader Mode.tipIf releasing the buttons simultaneously does not work, try releasing the power button first, followed by the vol+ button.
-
(Windows Only) Switch to Maskrom Mode
Use the RockdevTool to switch to Maskrom Mode if necessary (see the Windows section below for details).


Step 3: Check the Status
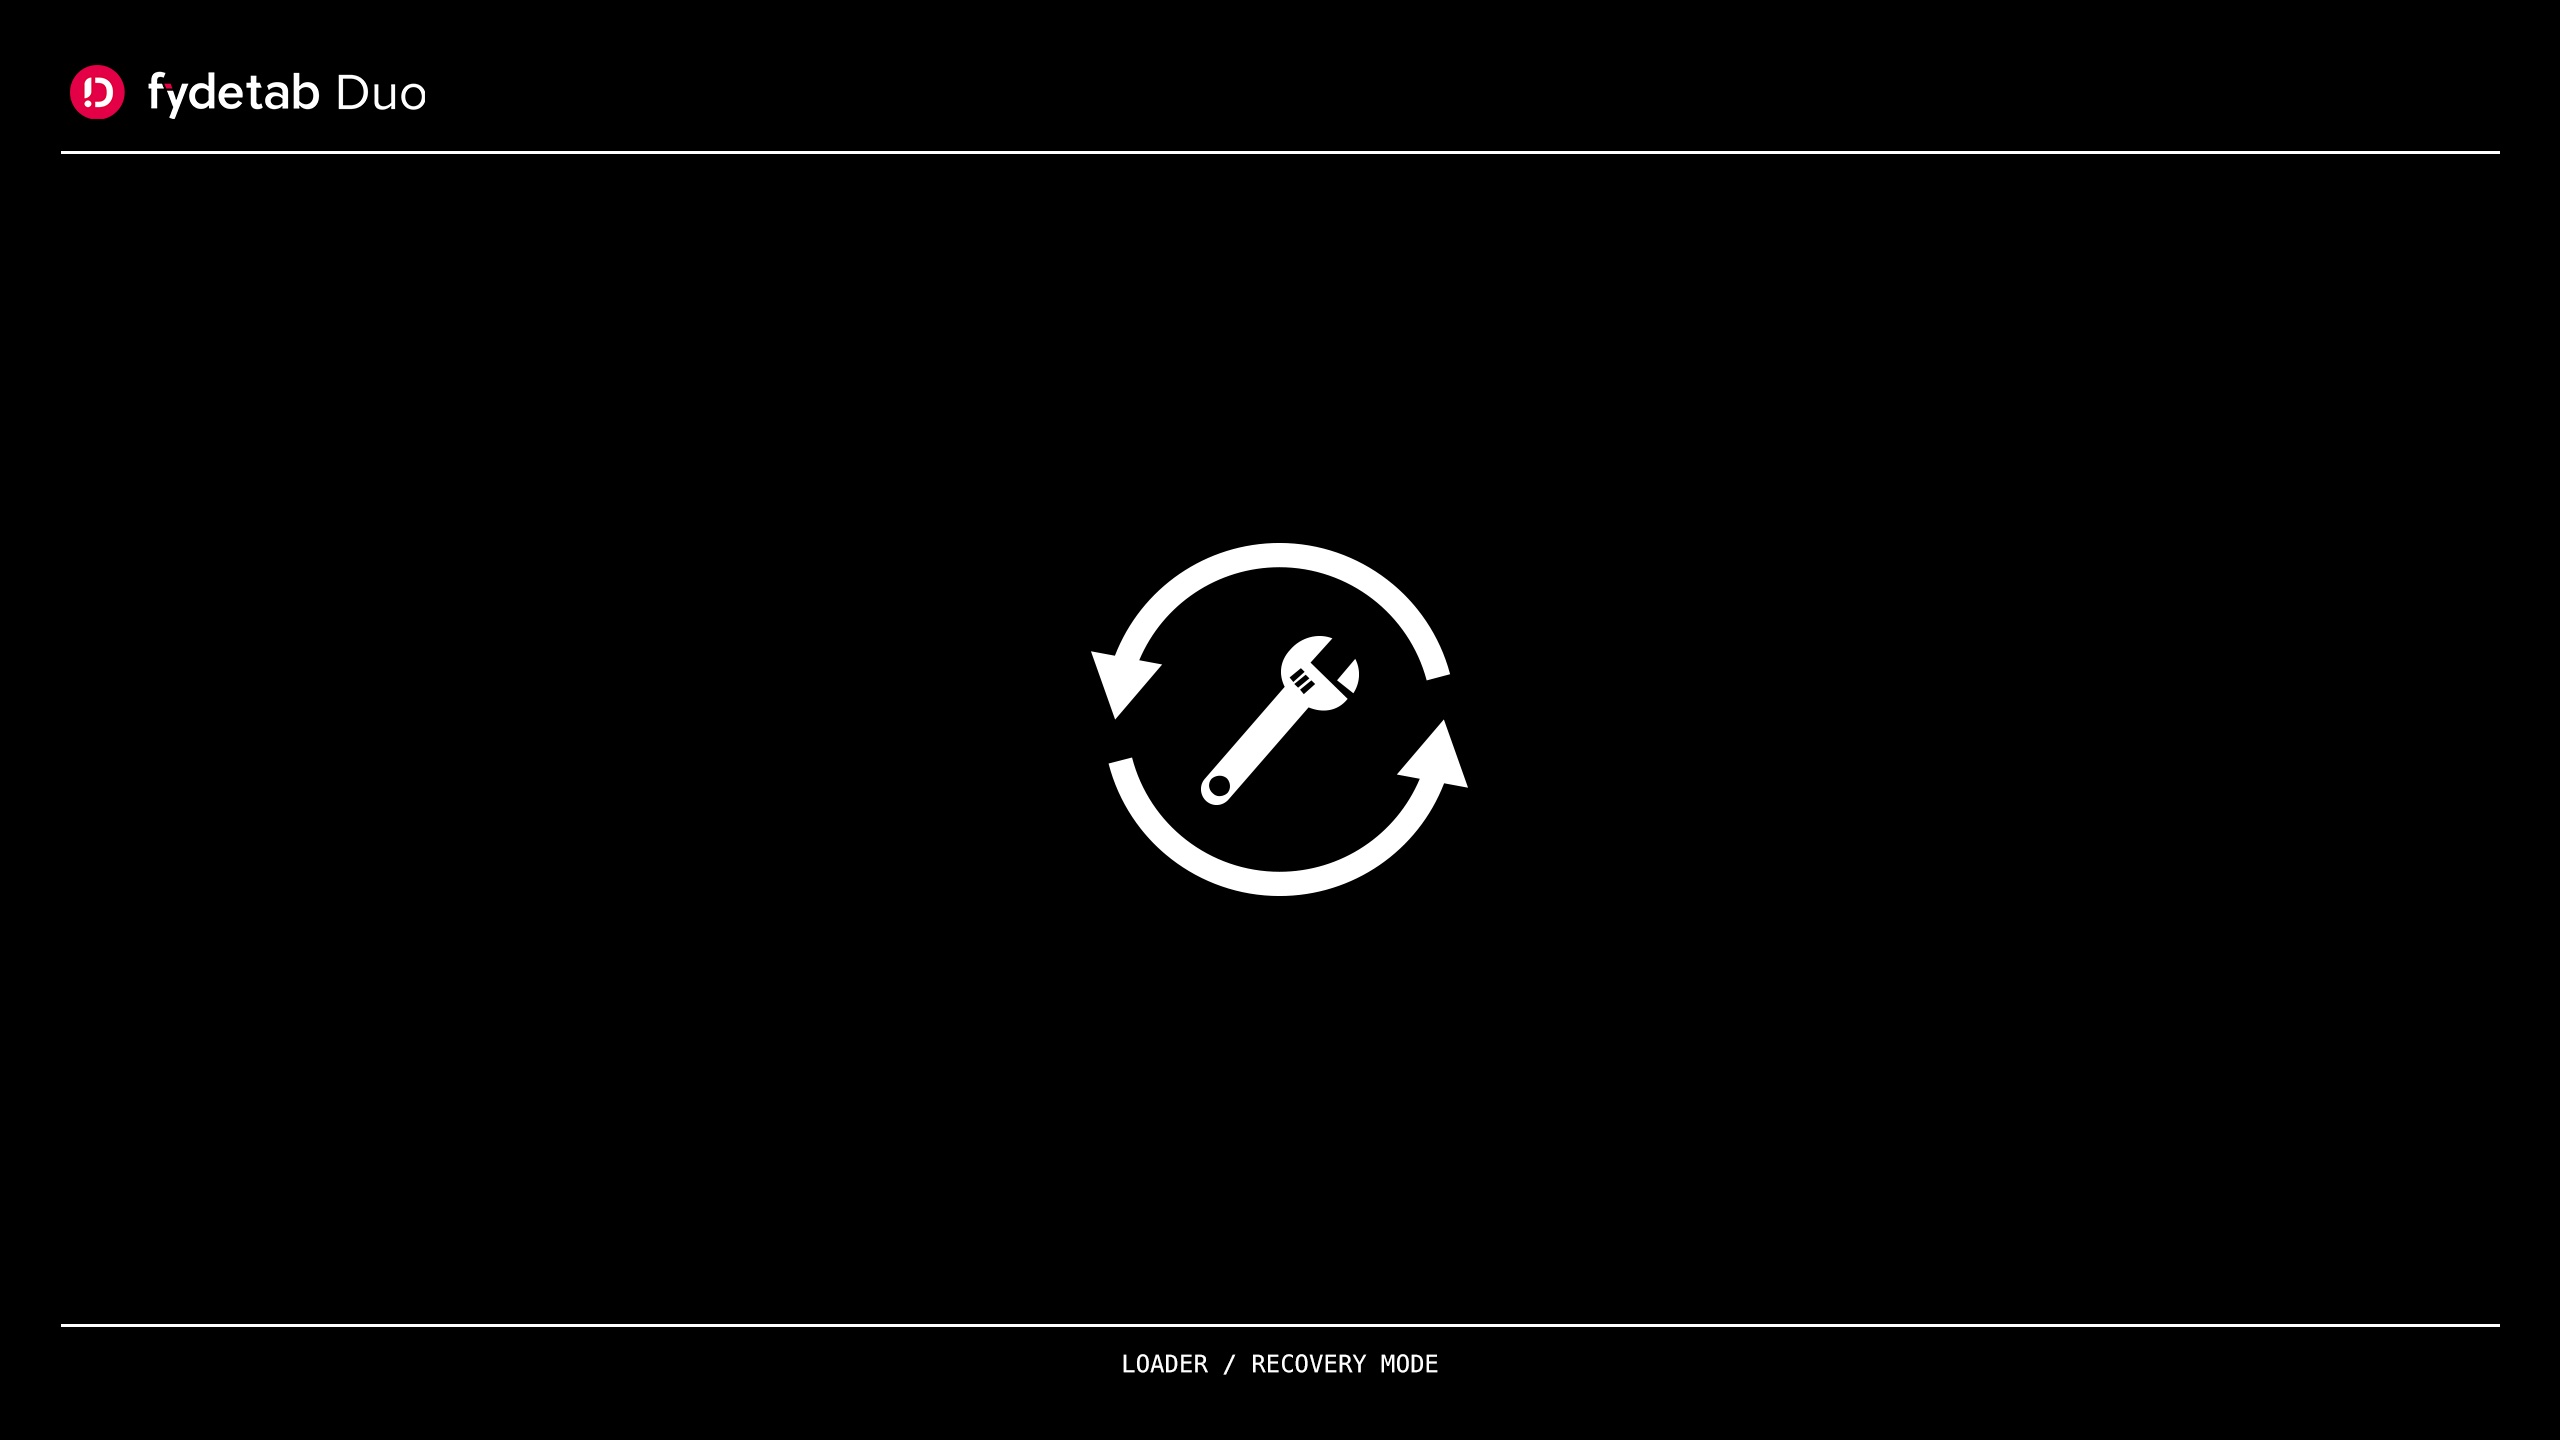
Once the device is in Loader Mode, your computer should be able to detect it. The screen will display an image indicating that the device is in Loader Mode.

On devices with first-generation firmware, the LED will remain off, and the screen will stay completely dark. This is normal.
Step 4: Flash the image
- 🐧 Linux (Debian/Ubuntu)
- 🍏 macOS
- 🖥️ Windows
The Linux upgrade tool is a proprietary solution developed by Rockchip for flashing images onto various storage devices such as SPI, eMMC, and SD Card. Unlike the open-source rkdeveloptool, this tool is distributed solely in binary executable form.
-
Download the upgrade tool
Follow the link to download the upgrade_tool in raw format. -
Make the file executable
Open a terminal and run the following command to make the file executable:sudo chmod +x /path/to/upgrade_tool -
Flash the image
Unarchive the downloaded image file, then use the following command to flash it:sudo ./path/to/upgrade_tool uf /path/to/unarchived/image-name.img
Requires macOS > 10.15
-
Download the upgrade tool
Download the upgrade tool here. -
Unarchive the image file
Use your preferred tool to unarchive the downloaded image file. -
Flash the image
Open a terminal and execute the following commands:chmod +x upgrade_tool
sudo ./upgrade_tool uf <filename of the update image>.img
-
Install the Rockchip Driver
Download and install the Rockchip Driver. -
Download RKDevTool
Get the RKDevTool here. -
Flash the image
Use the GUI of RKDevTool to flash the image. For detailed instructions, refer to this guide.

Additional Resources
For further information and tools, you can check out these resources: